Pages

Showing posts with label diy. Show all posts

March 30, 2013

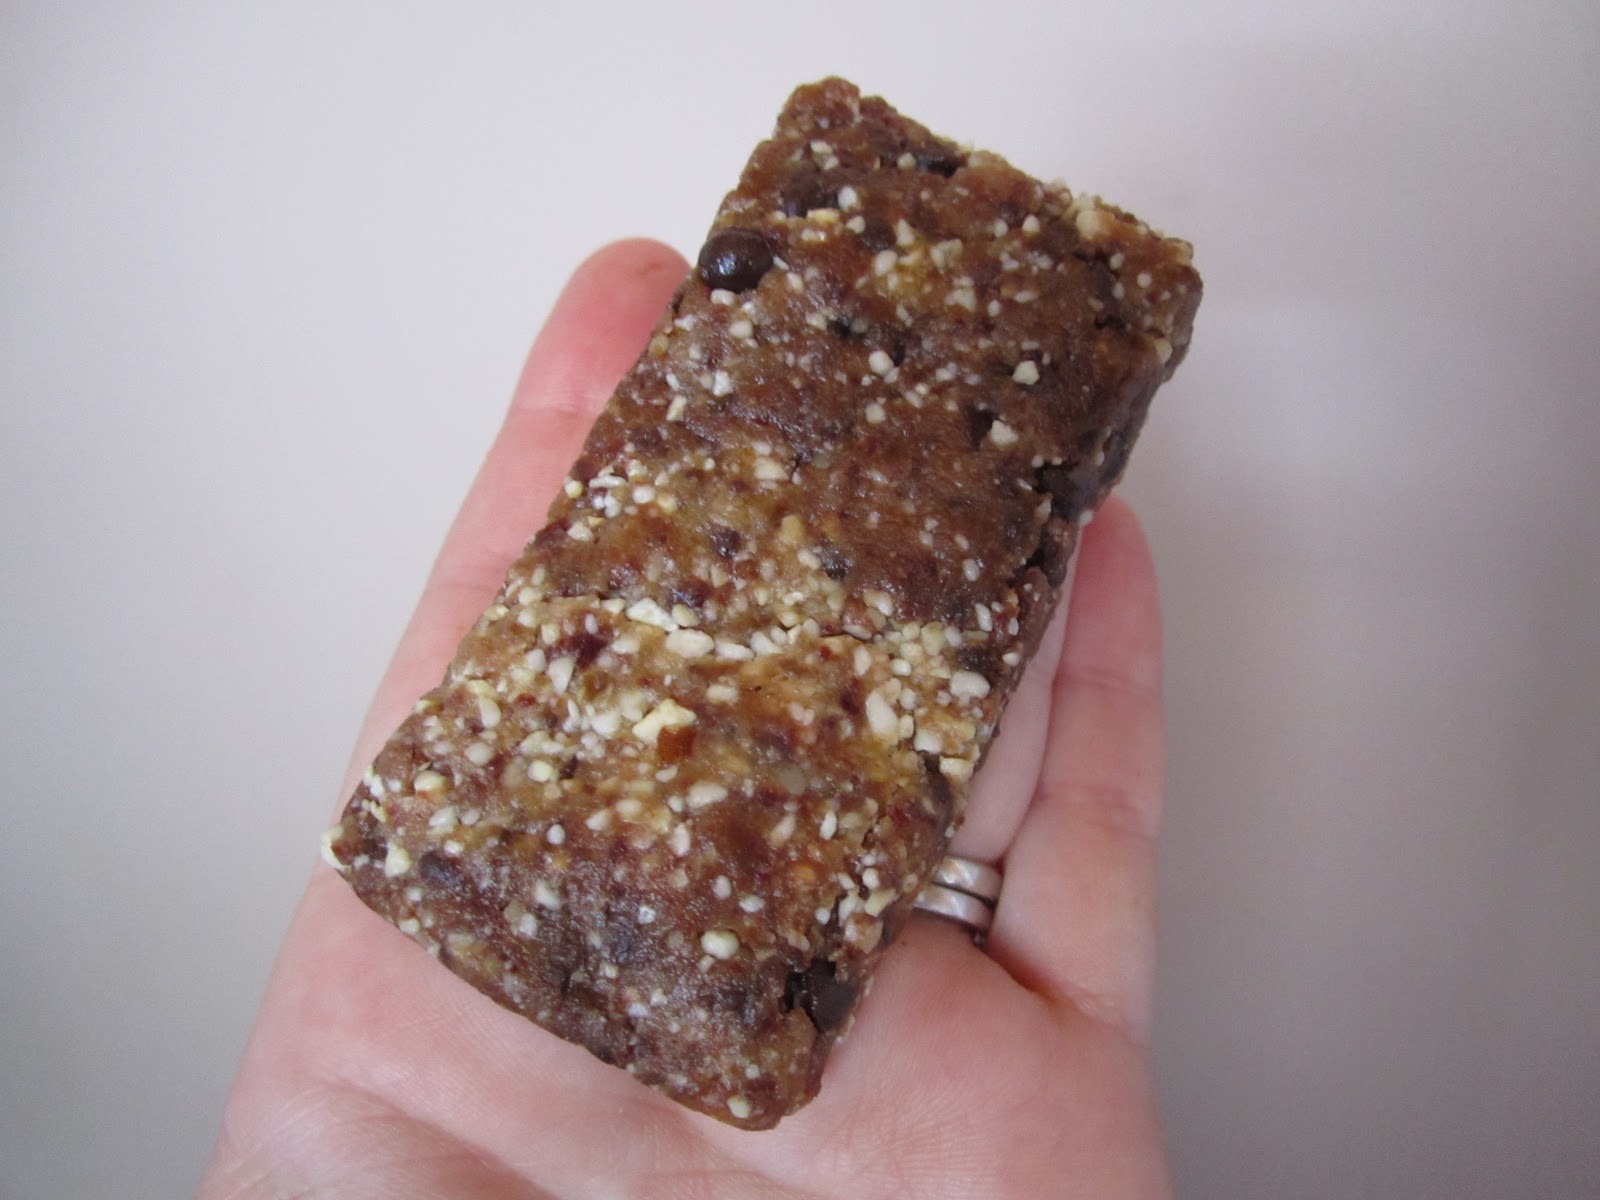
Homemade Larabars

As far as packaged snack foods go, Larabars rank pretty high on the scale of good-for-you snacks. The ingredient list is short and the flavours are yummy. But, they can be pricey. So I figured "Hey! I can MAKE these!"

So I did. And you can too!

This is not an original thought, and there are lots of blogs out there with creative kitchen-gurus who remember to take more pictures than I did. But this is my blog, and so here's what I made!

The cast of characters (I picked things I like):
- plain unsalted cashews
- plain walnuts
- medjool dates (pitted)
- dried cherries
- mini chocolate chips


If your dates still have the pits in them (mine did), just pry them out with your fingers.

Place your dates and cherries in a food processor and turn them into (for lack of a better term) a lumpy paste.


pre-lumpy paste

Add in your nuts and blend until mixture becomes "mealy". Once it has the texture of crusher dust (I know, I paint an appetizing picture) add in some mini chocolate chips. These would be healthier without the chocolate chips, but come on... chocolate makes everything better! I

Turn out of bowl of food processor and press into a square cake pan (mine is 8.5 x 8.5). Cut into bars. Now... I don't like the idea of using metal in my good cake pans, so I used my hard plastic stone-pan-scraper to cut the bars since it has a nice edge.

To store, I cut some parchment paper and wrapped each bar individually.


Then just pop the wrapped bars into a storage container with a tight-fitting lid and keep in the fridge until you feel as though you need a snack! But if you think you'll be a while till you get to them all, put some wrapped bars in a freezer bag and toss them in your freezer!


Mmmm nutritious, good-for-you, and ohhhh so yummy!

My recipe (feel free to adjust as you see fit):

13 medjool dates (pitted)
1/3 cup dries cherries (try dried cranberries or blueberries!)
1 1/2 cups unsalted cashews
3/4 cup plain walnuts
1/3 - 1/2 cup mini chocolate chips

In a food processor, blend up the dates & cherries. Add in the nuts until you get a pea-meal consistency. Add in mini chocolate chips. Press into square pan. Cut into bars. Wrap each bar individually. Store until ready to eat!

.

November 27, 2011

{This Chistmas} Let me tell you where to go

Since we confirmed that HOTGI and I would be hosting my family Christmas dinner this year, I've had it in my head that I wanted to have place markers at everyone's spot. We are only going to be a small group, but I like the presentation of a well laid table and for me part of that look this year is personalized place markers. I knew I needed to made something fun :)


There are a lot of inspirations out there on the interwebz, and I like everything so I knew I needed a starting point. So when I went to Michaels this morning, I found these super cute place card holders! They were 2 for $1.50 and I knew they'd be perfect.


Using my Cricut and a borrowed cartridge (thanks Andrea!) I cut out a 3" tag using the "shadow" feature with brown cardstock and a 3" tag using the regular feature in a sheet of holiday scrapbook paper (again, thanks Andrea!) and glued them together.


Then, in an excercise of patience and dexterity I applied glue (via glue-stick) to the back of each letter of each person's name and placed them on the prepared cards with a set of precision tweezers.


I cut a length of pretty green satin ribbon, tied it through the hole of each card and trimmed the ends.


Adorable right?


There are six of us confirmed for Christmas dinner at our house this year and I am incredibly pleased with how these place cards turned out. They might not be appreciated by anyone but me, but I cannot wait to see how they look on my table, and sometimes it's the little things that make me happy!


Now that this project (that admittedly took a bunch of time) is over, I have a mountain of other things to get done... asap!

.

October 28, 2011

Upcycle a book into a decorative pumpkin!

I've been seeing books turned into creative decor items all over the internet recently so I decided to try my own. In the spirit of Halloween, a pumpkin seemed to be a good choice.


Adorable!
You should try it too! Here's how I did it...

First thing was finding a paperback book I didn't mind destroying. I am pretty particular about my books, so selecting one that was going to be ruined was a serious internal debate. I chose a book that came in a box of random books I bought at an auction that I had zero interest in reading.

Ripping the front and back pages off made my heart beat quickly. Ruining a book goes against everything I believe in.


I drew the shape of half a pumpkin on the front page.


Time to start cutting away the excess paper outside the pumpkin shape.

I started with scissors.


After the first few pages, the scissors became too awkward to use, so I switched to a knife with a fresh blade. The new blade was necessary since I tore a bunch of pages with the dull blade that was in it.


There were a LOT of teeny tiny paper pieces while I was cutting, it was a handy idea to keep the vacuum nearby!

Now... when you do yours, try and keep your edge straight. Unlike mine. I was so frustrated  by the time I got to the end that I trimmed up the pages as best I could and hoped nobody would notice. Thank heavens it turned out well.


I opened the used-to-be-a-book and bent the front and back around to meet each other and use hot glue to keep it together. I kept the glue close to the spine to make it more stable. It look some fussing and fidgeting to get the pages spaced the way I wanted, and I used some more glue to keep them where I wanted.


Then there was the whole issue of how to colour the pumpkin. I thought about watered down acrylic paint but then I worried about the pages sticking together. Then I thought about an orange ink pad, but I didn't find any I liked. So I used some orange spray paint. When I spray paint a project, I use the low part of the rock retaining wall in my backyard.


I let it dry inside while I went foraging for something to use as a stem


I ended up grabbing a twig the maple tree in my front yard left behind. I trimmed it to a reasonable pumpkin stem length and hot glued it in the middle of the hole made by the spine of the book


I rummaged through my ribbon basket and found a pretty green ribbon to tie around the stem for an extra punch of colour. Displayed next to a large decorative spider, it makes the bookcase at the top of my stairs look fun and festive!


Go ahead! Give it a try! Let me know how it works out for you!

.